Google Tag Manager Setup Guide
Set up Google Tag Manager to track conversions from your newsletter platform
Overview
Google Tag Manager (GTM) allows you to deploy our conversion tracking pixel without modifying your website code directly. You'll create a custom HTML tag in GTM that contains our tracking script, then configure it to fire on specific pages or events. This approach provides flexibility and easy management of your tracking implementation.
Prerequisites
- A Google account with access to Google Tag Manager
- Your publication already set up in our platform
- The HTML tracking script from your publication settings
Step-by-Step Instructions
1Access Google Tag Manager
Go to Google Tag Manager and either create a new account or use an existing one.
Open Google Tag Manager2Navigate to Tags Section
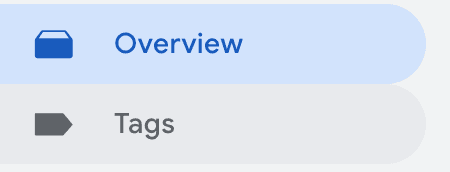
After selecting your account and container, click on "Tags" in the left sidebar.
3Create New Tag
In the Tags section, click the "New" button to create a new tag.

4Select Custom HTML Tag Type
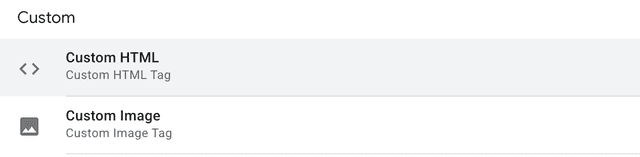
Click "Choose a tag type to begin set-up" and select "Custom HTML" from the options.
5Paste the HTML Script
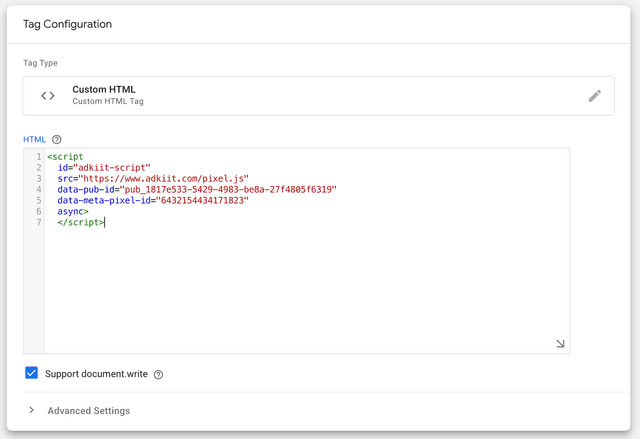
Paste the HTML script provided during the create publication flow or retrieve it from your publication settings.
6Enable Document Write Support
In the Custom HTML tag configuration, make sure to select "Support document.write" - this is crucial for our tracking script to work properly.
7Create DOM Ready Trigger
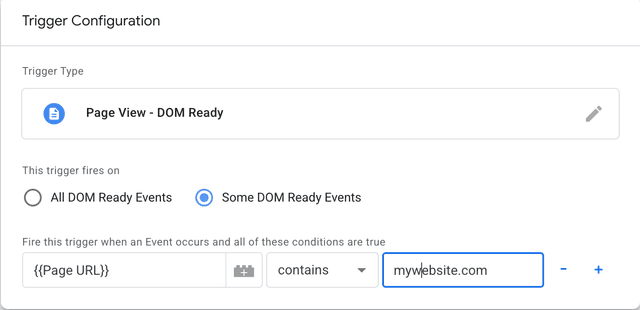
Click "Choose a trigger to make this tag fire" and then click the "+" icon to create a new trigger. Select "DOM Ready" as the trigger type.
8Configure Trigger Conditions
Select "Some DOM Ready Events" and configure the trigger to fire when the PAGE URL contains your website domain.
(Optional) Set the condition to: PAGE URL contains [your-website-domain]
9Save and Publish
Save the trigger and the tag, then click "Submit" and "Publish" at the top right corners to make your changes live.
- Save the trigger configuration
- Save the tag configuration
- Click "Submit" to create a new version
- Click "Publish" to make it live
10Copy the Tag ID
After publishing, copy the Tag ID (GTM-XXXXXXX format) and add it to the Google Tag Manager Pixel ID input in your publication settings.
The Tag ID will be in the format: GTM-XXXXXXX
✓Setup Complete!
Your Google Tag Manager integration is now complete! The tracking script will fire on your website pages and send conversion data to our platform.
- Tag is published and active
- Tag ID is configured in settings
- Tracking script will fire on page load
Testing Your Setup
After setting up Google Tag Manager, you can verify the integration is working:
- Visit your website and open browser developer tools - you should see "🚀🚀🚀 Pub ID and Pixel ID found, loading AdKiit Pixel" in the console.
- Check the Console tab for any tracking script messages
- Look for network requests to our tracking endpoints
- Verify the tag fires in Google Tag Manager's Preview mode
Troubleshooting
Tag not firing?
Check that "Support document.write" is enabled and the trigger is configured correctly.
Script not loading?
Verify the HTML script is copied completely and the tag is published.
Wrong pages being tracked?
Check your trigger conditions and make sure the URL pattern matches your website.
GTM container not working?
Ensure the GTM container code is properly installed on your website.
Security & Best Practices
- Use descriptive tag and trigger names
- Test in Preview mode before publishing
- Keep your GTM container organized
- Regularly review and update your tags